How to Prep Your Walls for a Perfect Paint Job
Painting your walls is a great way to refresh your home’s interior and give it a new look. However, before you start painting, it’s important to properly prepare your walls to ensure a perfect paint job. In this article, we’ll explore the steps you need to take to prep your walls for a flawless paint job.
1. Clean Your Walls
The first step in preparing your walls for painting is to clean them thoroughly. Use a mixture of warm water and mild detergent to remove any dust, dirt, or grease from your walls. If you have any stubborn stains, use a cleaner specifically designed for your wall type. While following AC maintenance tips, ensure proper ventilation to prevent moisture build-up on walls for a perfect paint job. After cleaning, rinse your walls thoroughly with clean water to ensure that no soap residue is left behind.
2. Repair Any Damage
Before you start painting, it’s important to repair any damage to your walls, such as holes, cracks, or dents. Use spackling paste or putty to fill in any holes or cracks and smooth out the surface with a putty knife. If you have any large holes or damage, consider using a drywall patch to cover the area. Choosing the Right Paint for your Home is key to achieving Walls for a Perfect Paint Job. After the patch has dried, sand down any rough spots until the surface is smooth.
3. Sand Your Walls
Sanding your walls is an important step in ensuring a smooth and even paint job. Use fine-grit sandpaper to sand down any rough spots or bumps on your walls. This will help to create a smooth surface for your paint to adhere to. After sanding, wipe down your walls with a damp cloth to remove any dust or debris. If you’re not comfortable prepping your walls yourself, consider using an expert painting service like Groovy Hues. They can provide professional guidance on color selection, surface preparation, and paint application. They’ll also take care of all the necessary prep work and cleanup, so you can sit back and relax while they transform your walls into a work of art.
4. Tape and Cover Trim and Fixtures
Before you start painting, it’s important to protect your trim, fixtures, and other surfaces from paint splatters. Use painter’s tape to cover any areas you don’t want to paint, such as window frames, baseboards, and door frames. Use plastic sheeting or drop cloths to cover your floors and furniture to protect them from paint drips or spills. For a perfect paint job, thorough interior painting prep, including cleaning and priming the walls, is essential.
Read: Why Regular Home Inspections Are Important
5. Prime Your Walls
Priming your walls is an essential step in producing a paint job that looks like it was done by a professional. Your paint will stick to the walls more effectively with the help of a primer, and it can also hide any stains or markings that may be present. Utilize a primer of high quality that has been developed particularly for the kind of wall you have. It should be applied evenly with a roller or brush, and then it should be allowed to dry completely before painting.
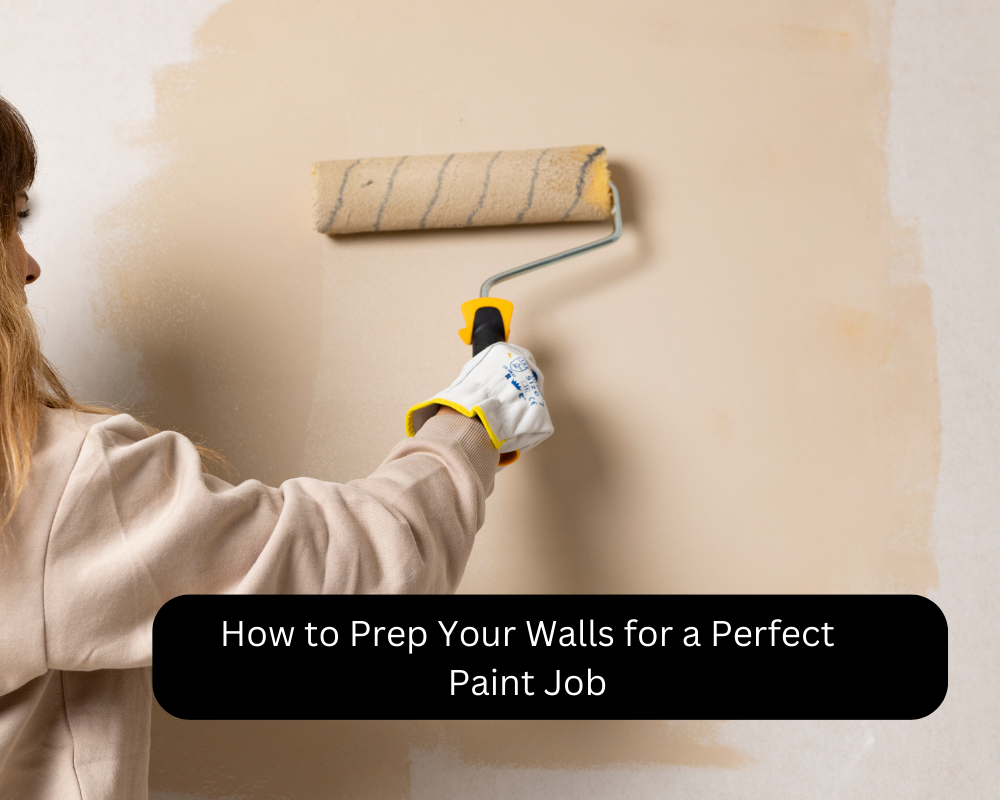
6. Paint Your Walls
After you’ve prepared your walls, it’s time to start painting. Choose high-quality paint that’s appropriate for your wall type and your desired finish. Use a roller or brush to apply the paint evenly, working from top to bottom and using long strokes. Be sure to paint the edges and corners carefully, as these areas can be easy to miss. Allow the first coat to dry completely before applying a second coat if needed.
To summarize, getting your walls ready for a flawless paint job takes time and work, but it is time and effort well spent if you want to end up with a result that looks polished and professional. If you follow these instructions and put in the effort to properly prepare your walls before painting, you will be able to assure that your finished product will be immaculate and will last for many years to come.